Showing posts with label #cutemani. Show all posts

Saturday, May 14, 2016

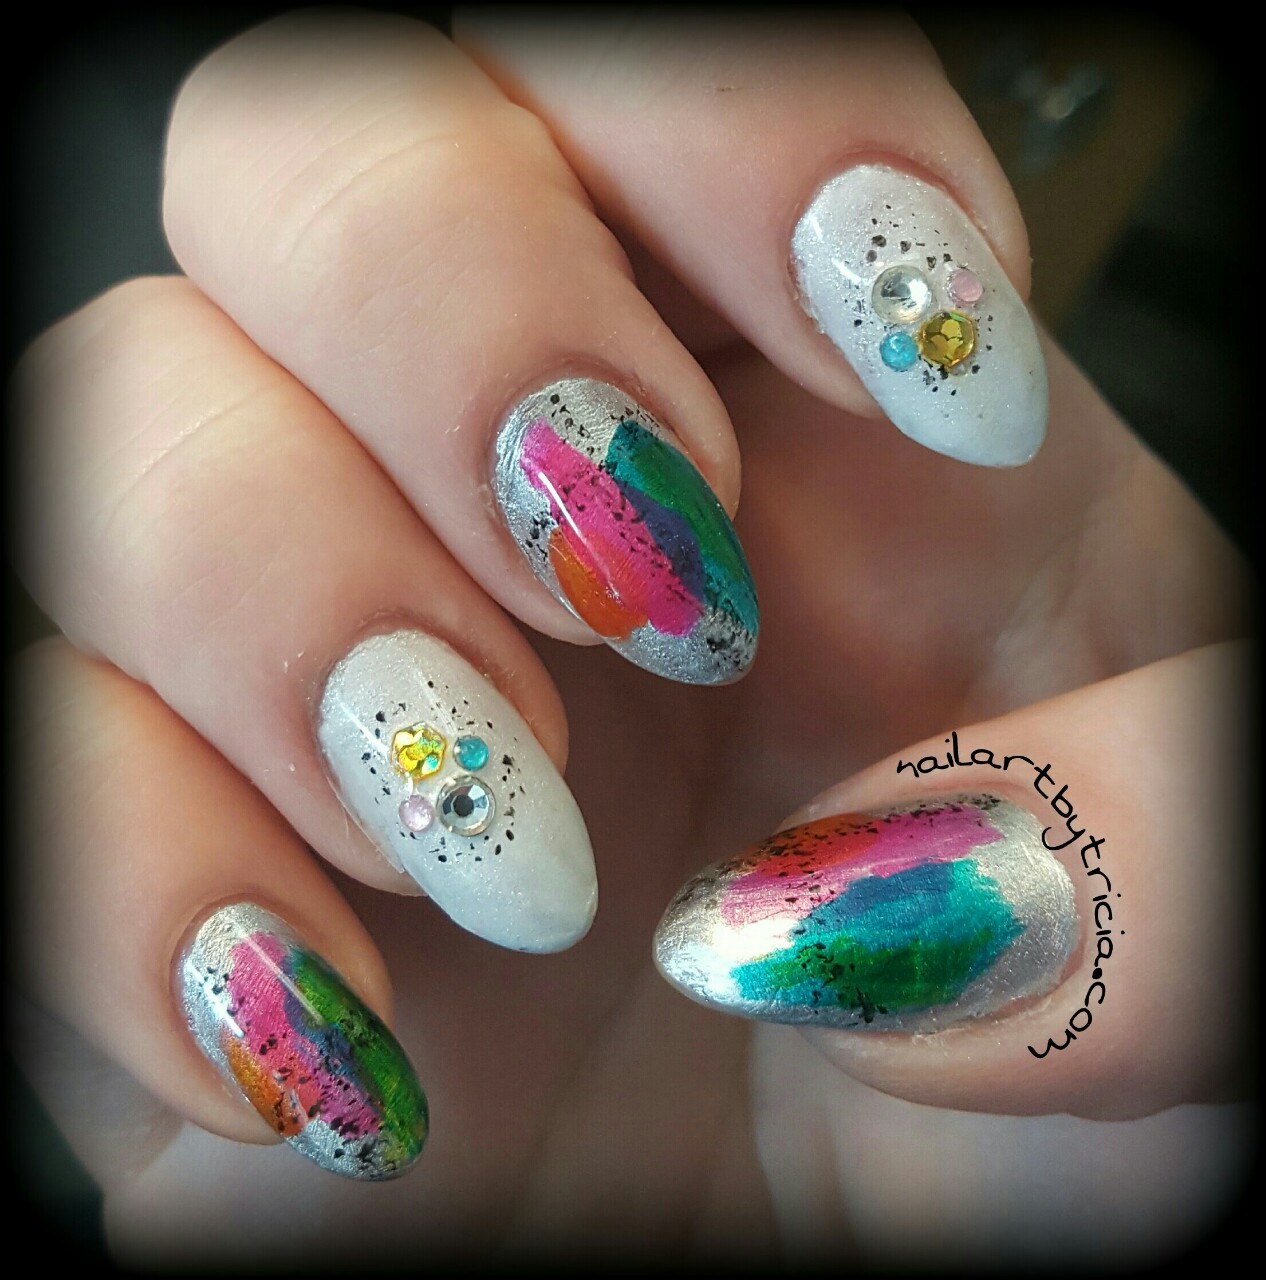
Inspired by@agehanails

To be quite honest, I was feeling quite uninspired when I sat down to do my nails, so I went to my trusty Pinterest Nail Art page to look for some inspiration. I decided to recreate this mani from @agehanails - she does awesome work! 
I used OPI Color Paints, Zoya's "Aspen" and a few rhinestones. I employed a dry brush technique for the black accents. 


Wednesday, February 3, 2016

Coffee Nail Art

I am one of the few people in the world that HATES coffee. The smell alone makes me gag. My family, however, runs on coffee. So I was excited when I got this new stamping plate off Ebay.
This is my first Tian Xin plate, and I am pleased with the quality -- I was a little worried since it was so cheap, but it's definitely worthwhile.

Tuesday, January 26, 2016

Shattered Glass

I finally  got my hands on some holo foil paper from Born Pretty Store to create some shattered glass nail art!
My base is "Wet Suit" by Sally Hansen - I love this color! Is it grey, blue, purple or a combo? I'm not really sure, but I like it. I cut the holographic sheets of mylar into tiny strips, and applied them using a clear coat. I used Seche Vite to seal everything in, and that was it! This is a really pretty look that is fairly easy (albeit slightly time consuming) to create. I can't wait to use more of this in the future.

Saturday, January 16, 2016

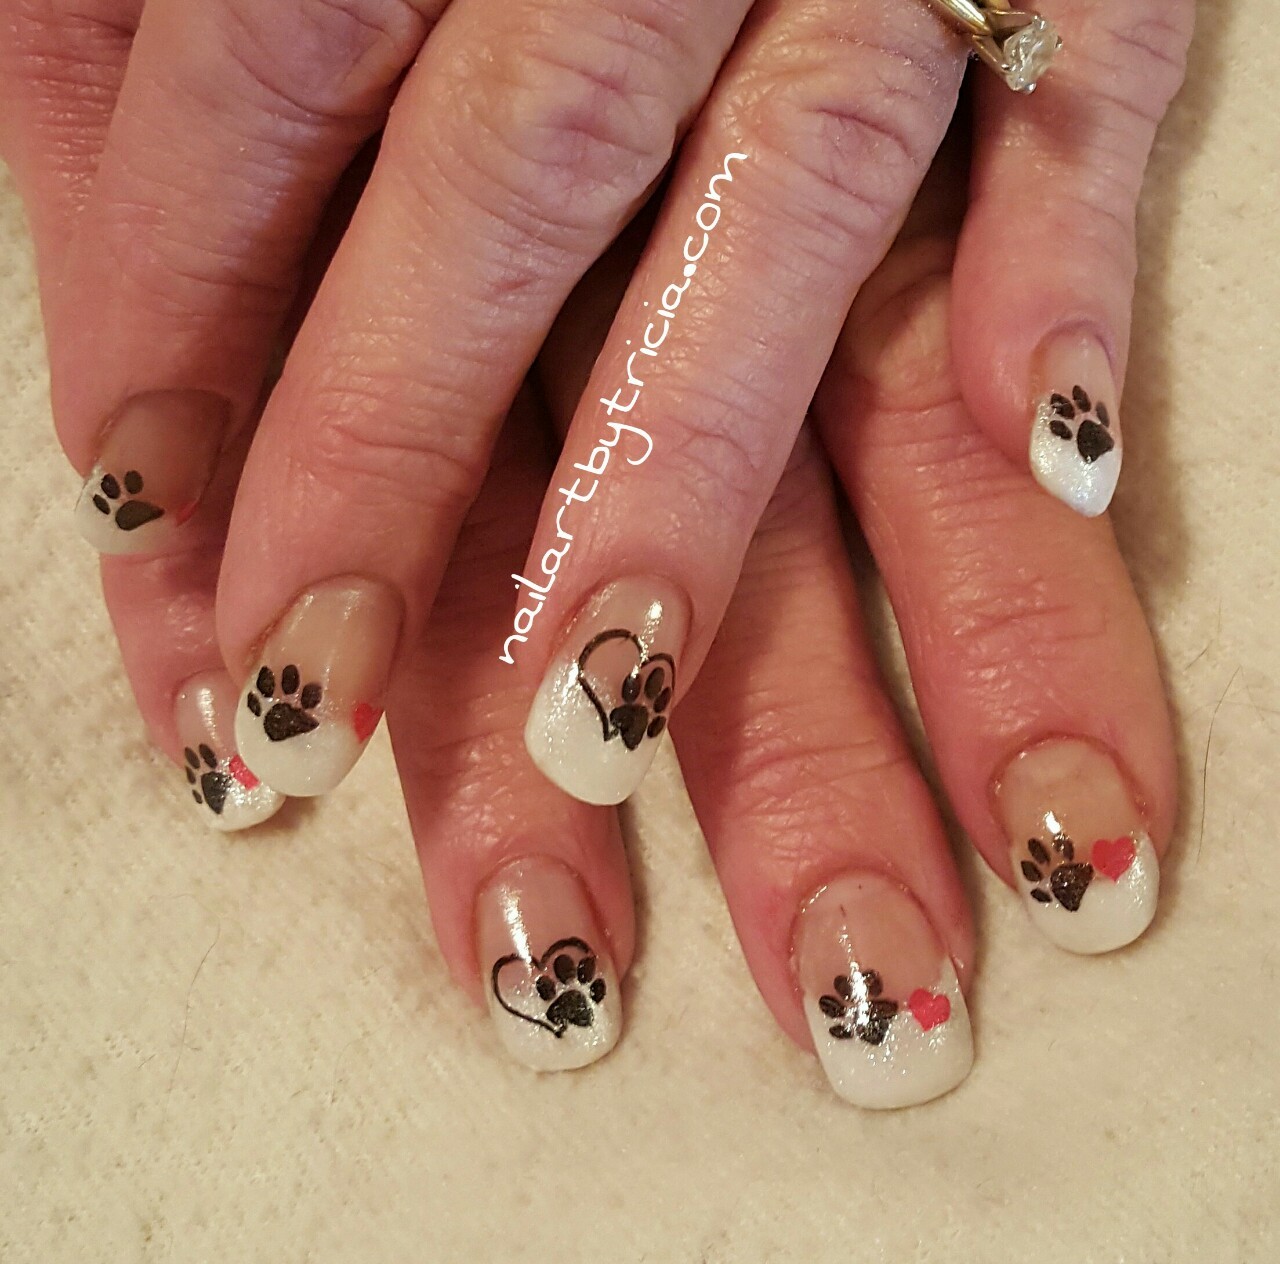
Paws and Hearts

My mom is the director for a Humane Society, so naturally we always put dogs on her nails. 
For today she decided on paw prints and hearts. 
Her ring fingers are stamped with a heart embracing a paw. This stamp is from My Online Shop, plate #JR-35.  We stamped paws and hearts on the rest of the nails, using plates QA23 and m18. 

Friday, August 21, 2015

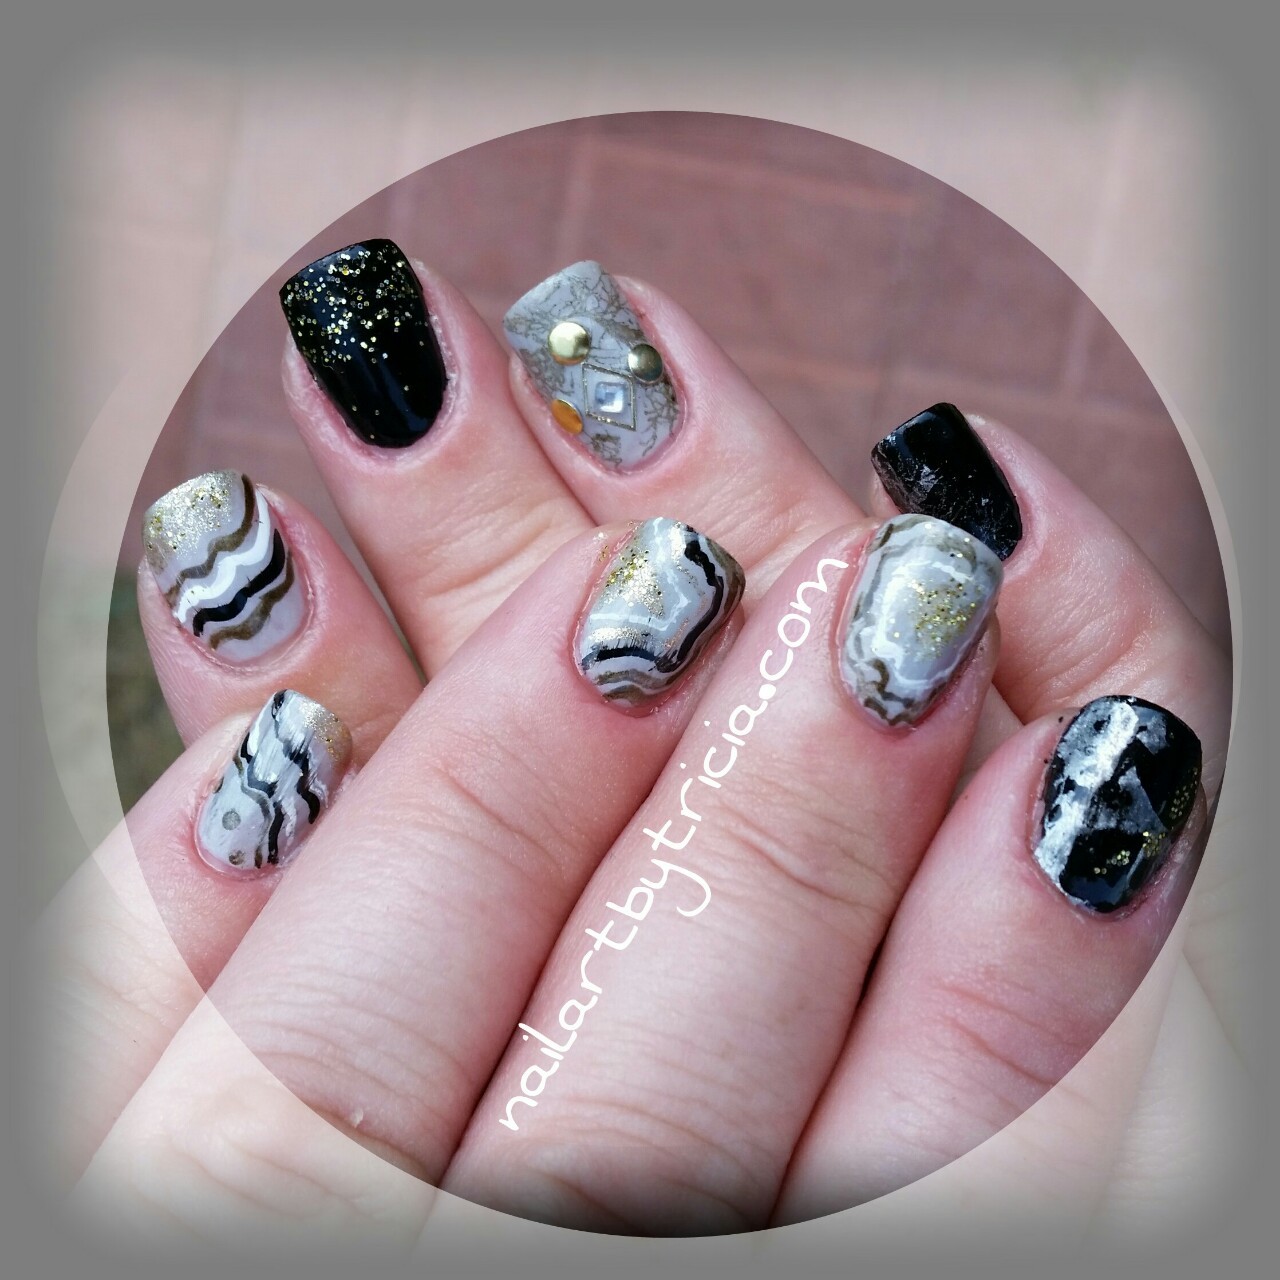
Grayscale Geode, Inspired by the Lovely Lady Alayna

     I started my Nail Technician classes this week, and I am very excited to be able to focus on my love. I saw this mani on Pinterest by Lady Alayna, and it was an instant "do me now" project.
     Although I have admired the geode nail art for some time, this was my first time attempting it. I used a fine art brush and various polishes to create the geode design. In hindsight, I will either 1) use acetone to soften the lines or 2) use watered down acrylic paint instead. I added a slight pinch of loose gold microglitter to the golden centers of the geodes.
     The remaining nails are done with a variety of techniques, including stamping, spray water marbling (shout out to Liquid Palisade for making water marbling and stamping infinitely easier to do) and glitter placement, along with a few goldtone accessories and a rhinestone.
     This was tremendously fun yet challenging - there will definitely be more geode nail art in my future. What do you think - have you tried this type of nail art before? What did you think -- any tips? I'd love to hear from you :)

Monday, August 3, 2015

Gelibility + Crushed Shell Nail Art

Today I did my first and last crushed shell nail art mani!

I have had a package of little bottles, containing plastic crushed shell/iridescent looking stuff - I am really not technically certain what this material is called - sitting, untouched, unloved. No time like the present! - only thing is, I am not really 100% certain what I am supposed to do with this stuff. It's experiment time! Here's my tools:
I started out by using Gelibility to turn my China Glaze "Travel in Color" into a sheer base coat. I elected to use the Gelibility in hopes that the added thickness of the gel will sandwich in the little glittery pieces. After two coats of polish, I used my dotting tool to place the shell/glitter/whatever this substance is onto my nails. It took two more layers of Gelibility to really seal in the shards, and even with that I can still feel some of the material when I brush my fingers against my nails. I added a little gold shell and a pearl as an accent, and that was it!
I felt like this mani was more time consuming than it was worth. I still don 't even know if I used this stuff correctly (or should I say for the reason it was intended). Have you ever used this stuff? I would love to hear other people's experiences with this --- what is this stuff called?!? (for the record, the packaging said nothing.)

Friday, July 10, 2015

Shark Week -- Inspired by Chalkboard Nails!

When I came across this post from Chalkboard Nails, I instantly wanted to reproduce it. 

My base is Floss Gloss Wet, with a little Floss Gloss Glowstar sponged on the tips for a gradient effect. For the shark I used Zoya Ling, Essie Blanc, and WetNWild Black Creme to freehand the look.

I realized after I topcoated my design that I forgot to paint on the teeth, but I think he still looks cute. 

<3<3<3 on a side note, I would like to say that I am loving the Floss Gloss I won on Listia, and am definitely going to be looking for more. The formula (in my opinion) has staying power, it's not sheer -- ie, 2 coat max application for everything I have used so far, and the colors are great. I will definitely be investing in more Floss Gloss in the future. And - well, on a very subjective note, the bottles are just so damn cute. 

Wednesday, July 1, 2015

Happy 4th

Does anyone else find it ironic that we blow things up to celebrate the anniversary of war?

With 4th of July coming up, I was inspired by a recent email I received from Formula X to do this mani:
This is a super easy mani to do! I used striping tape and Essie "Guesso" to paint the white part of my nails. Then I added the awesome red-white-and-blue glitter topper from Funky Fingers called "Fireworks."  That's it -- simple yet festive!


Saturday, June 13, 2015

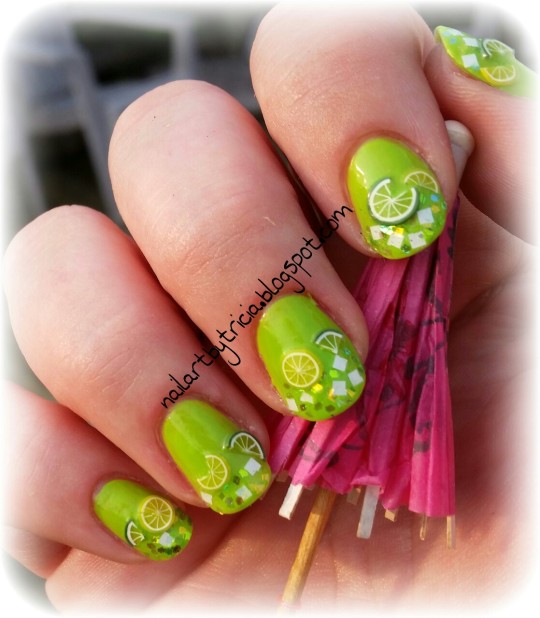
Margarita nails

One of my favorite summer activities is enjoying a nice, refreshing margarita on a hot summer day.

Unfortunately, today was not one of those days. So I put margaritas on my nails instead. :)

My base is "Mint" by LA Colors. On my tips I used OPI's "Lights of Emerald City" to give the look of salt on the rim.  "Lights of Emerald City" is a nice glitter topper from OPI - it has white square glitter as well as small iridescent glitter as well. I think it worked quite nice for this theme. Finally, I added some lemon and lime fimo, in a variety of shapes, and top-coated the h3!! out of them.

Now if I only had some tequila.


Thursday, June 11, 2015

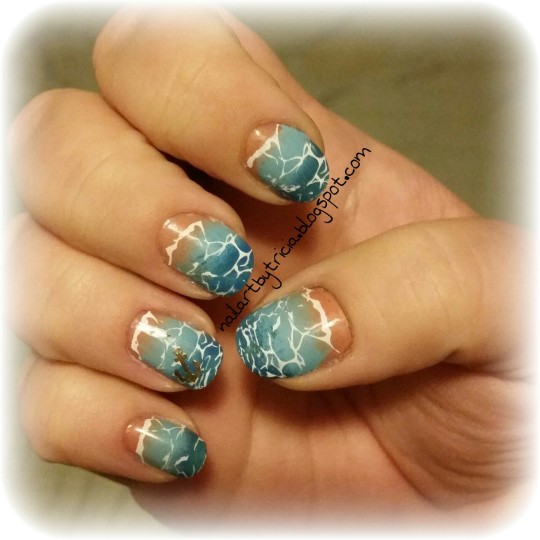
Beach Bum (in my dreams...)

If I had a left nut, I would give it to anyone who would take me to the beach right now. To say I need a vacation is an understatement. Until then, I'll just paint waves on my fingers.
This was actually a super easy mani to do, especially with my best friend Liquid Palisade.
I used Floss Gloss in "Tanlines," Salon Perfect "Baby Blues" and Zoya "Ling" to create my gradient. Then I stamped on the waves with Bundle Monster plate #BM509, using Funky Fingers "Gesso" as my stamping polish. Finally I added some nail confetti from Bundle Monster - a cute little anchor - to finish the design.  This mani was cute and easy, and allowed me to drift away for a little bit, if only in my mind :)

Happy Daydreaming!