Saturday, May 14, 2016

Inspired by@agehanails

To be quite honest, I was feeling quite uninspired when I sat down to do my nails, so I went to my trusty Pinterest Nail Art page to look for some inspiration. I decided to recreate this mani from @agehanails - she does awesome work! 
I used OPI Color Paints, Zoya's "Aspen" and a few rhinestones. I employed a dry brush technique for the black accents. 


Thursday, March 17, 2016

Inspired by Stephanie Loesch

Today's nails are a re-creation of an amazing mani I saw on Pinterest by Stephanie Loesch -- an amazing nail artist! Be sure to check her out on Instagram @_stephsnails_


Sunday, February 21, 2016

Deadpool Nails

FINALLY I got to see Deadpool, and it was awesome :)

For these nails, I started with a base coat of Color Club's "Harp on It," which is an amazing holographic polish.
All of the graphics were  done with stamps. For the Deadpool face, I used a peace sign (BM#07), removed the two diagonal lines, and used a reverse stamping method for the rest.
The lightning images on the pinky are from Born Pretty Store plate #BP06.
HeHe plate #008 is where the guns came from.
The letters D and P are brought to you today by plates #m17 and #m18.
And finally, the blood drips are from another Born Pretty plate - #BP29.


Wednesday, February 3, 2016

Coffee Nail Art

I am one of the few people in the world that HATES coffee. The smell alone makes me gag. My family, however, runs on coffee. So I was excited when I got this new stamping plate off Ebay.
This is my first Tian Xin plate, and I am pleased with the quality -- I was a little worried since it was so cheap, but it's definitely worthwhile.

Tuesday, January 26, 2016

Shattered Glass

I finally  got my hands on some holo foil paper from Born Pretty Store to create some shattered glass nail art!
My base is "Wet Suit" by Sally Hansen - I love this color! Is it grey, blue, purple or a combo? I'm not really sure, but I like it. I cut the holographic sheets of mylar into tiny strips, and applied them using a clear coat. I used Seche Vite to seal everything in, and that was it! This is a really pretty look that is fairly easy (albeit slightly time consuming) to create. I can't wait to use more of this in the future.

Saturday, January 16, 2016

Paws and Hearts

My mom is the director for a Humane Society, so naturally we always put dogs on her nails. 
For today she decided on paw prints and hearts. 
Her ring fingers are stamped with a heart embracing a paw. This stamp is from My Online Shop, plate #JR-35.  We stamped paws and hearts on the rest of the nails, using plates QA23 and m18. 

Thursday, January 14, 2016

Inspired by....

Inspiration can come in the craziest places! Today's mani was inspired by a lighter. :)
I started with a black base coat for this design. I stamped on a lace design with one of Bundle Monster's new blogger collab plates, BM-XL206, using a lavender polish ("Sugar Plum Fairy" from Funky Fingers). I then took the pink and purple polishes from the OPI Sheer Tints and sponged them at the top of the nail to create a gradient.

Where is the strangest place you have found inspiration?

Tuesday, January 12, 2016

Marble/Stone Nail Art

Today I have more submissions for the Nail It! Magazine, on the theme of Marble/Stone.
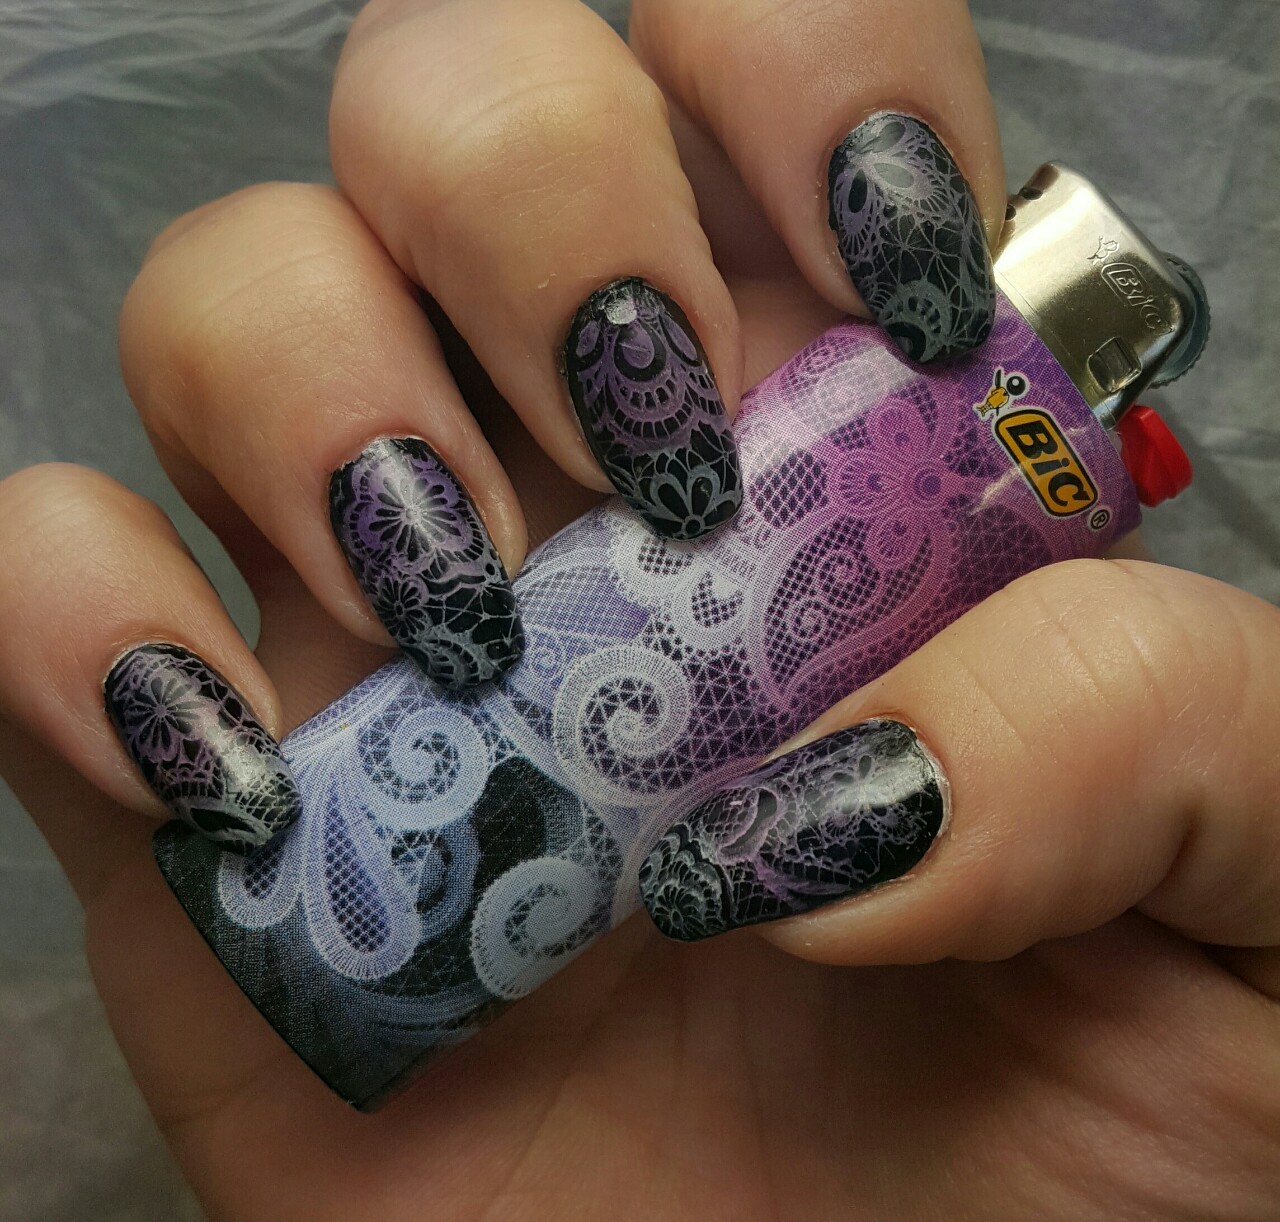
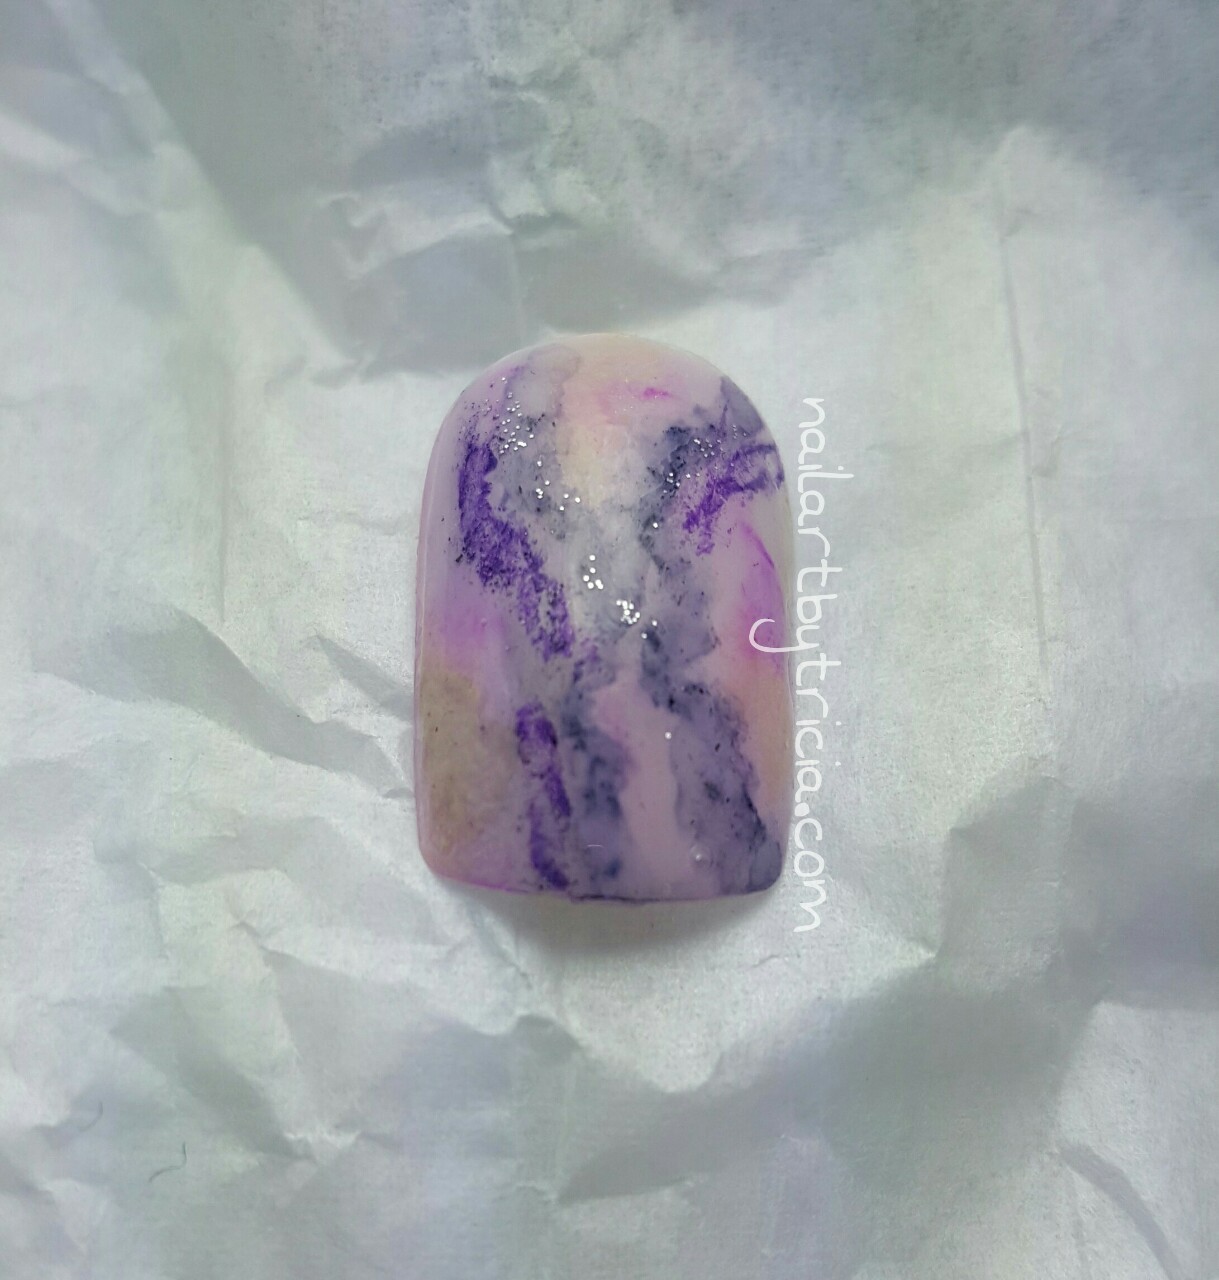
The purple is my favorite, of course. I started with a lavendar base of "Sugar Plum Fairy" from Funky Fingers. I used the Sharpie technique with dark purple, Next, I grabbed some more purples and some black polish, and began sponging it on in various spots. It didn't look "soft" enough for me, so I grabbed a small paint brush and some acetone to gently brush the sponging, making it look more like watercolor. Finally, I added just a little bit of ivory polish (sponged) and the tiniest amount of glitter. A coat of matte polish completes this look. :)
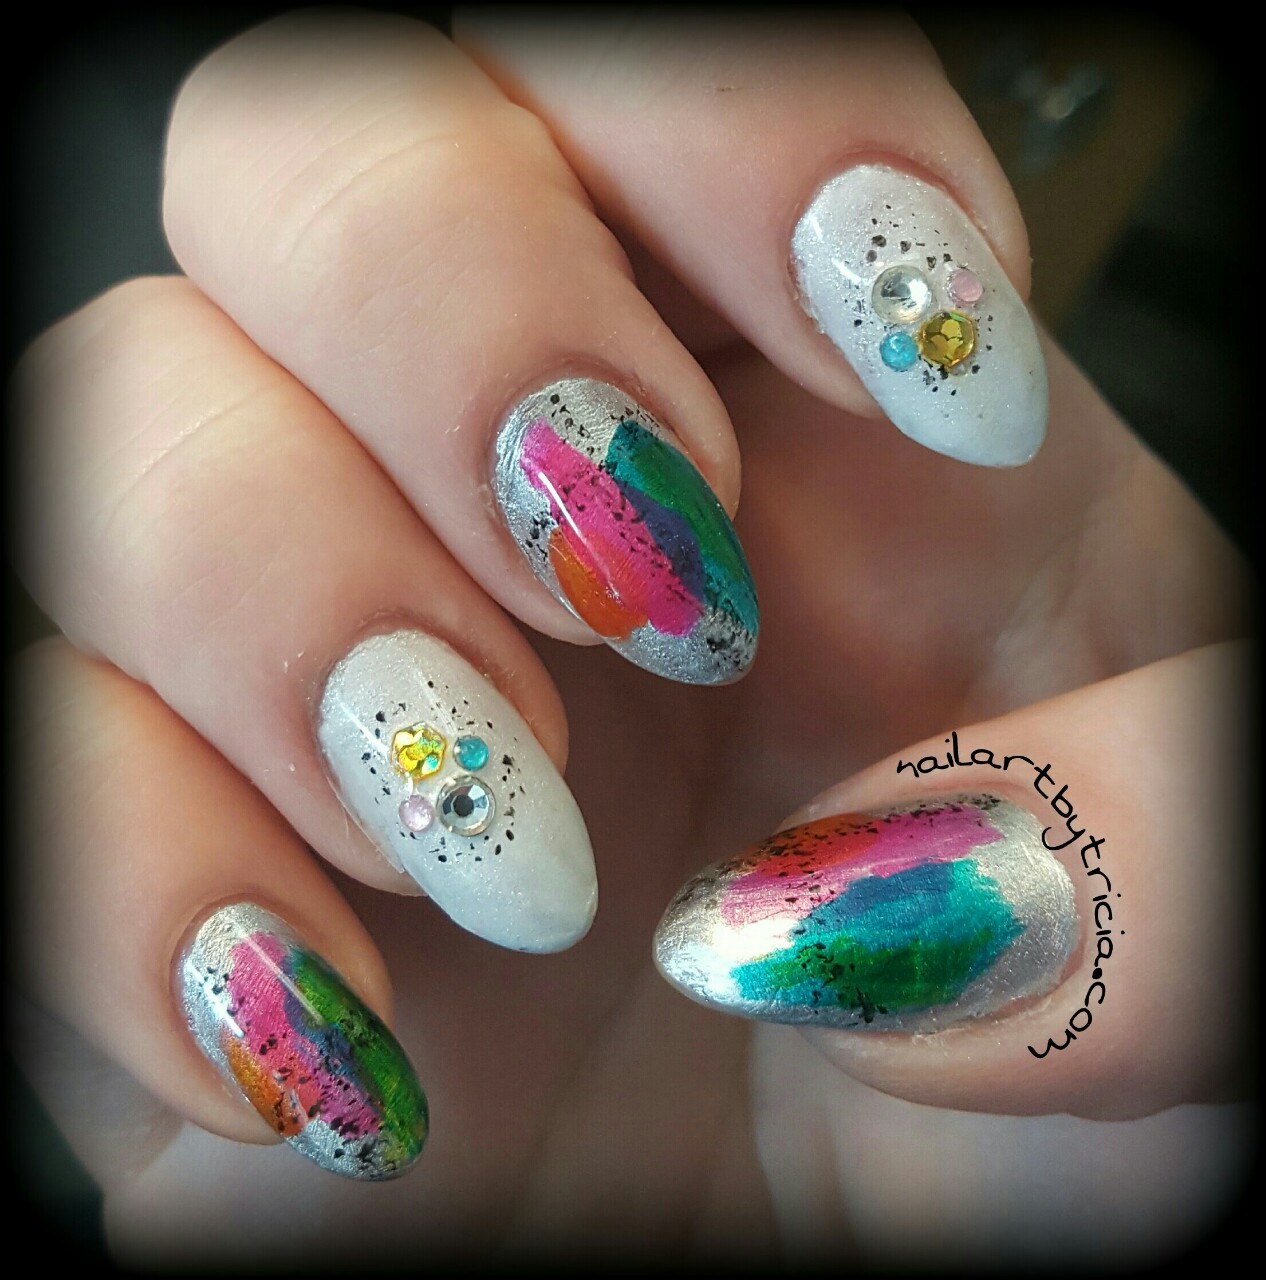
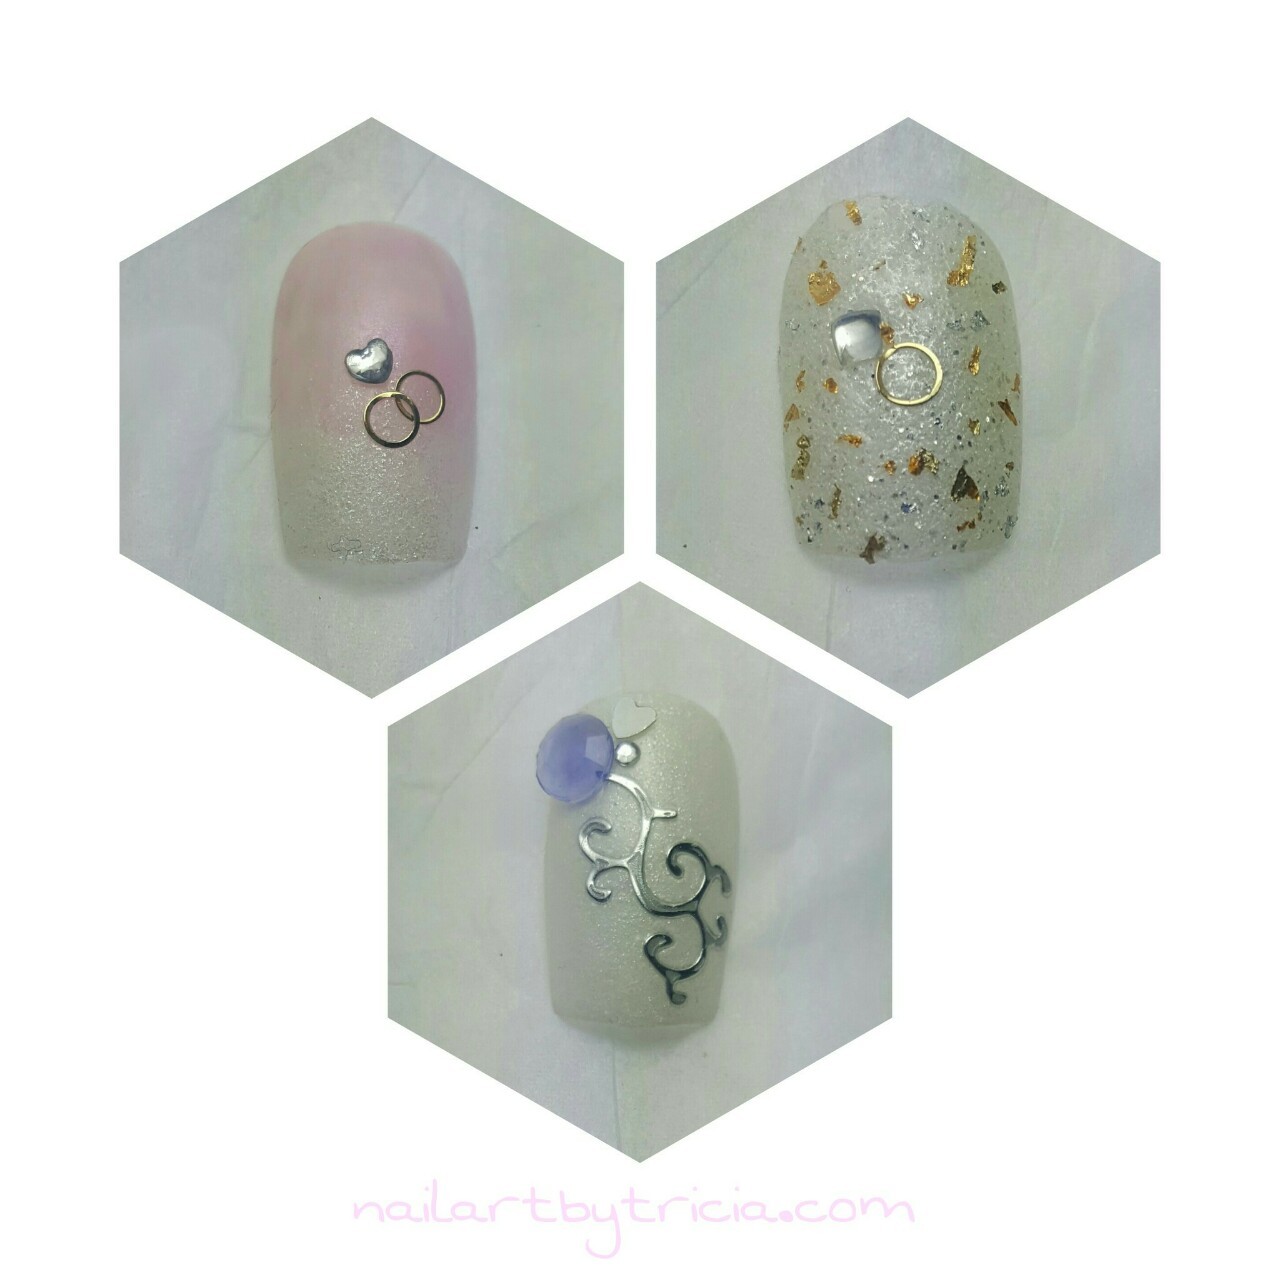
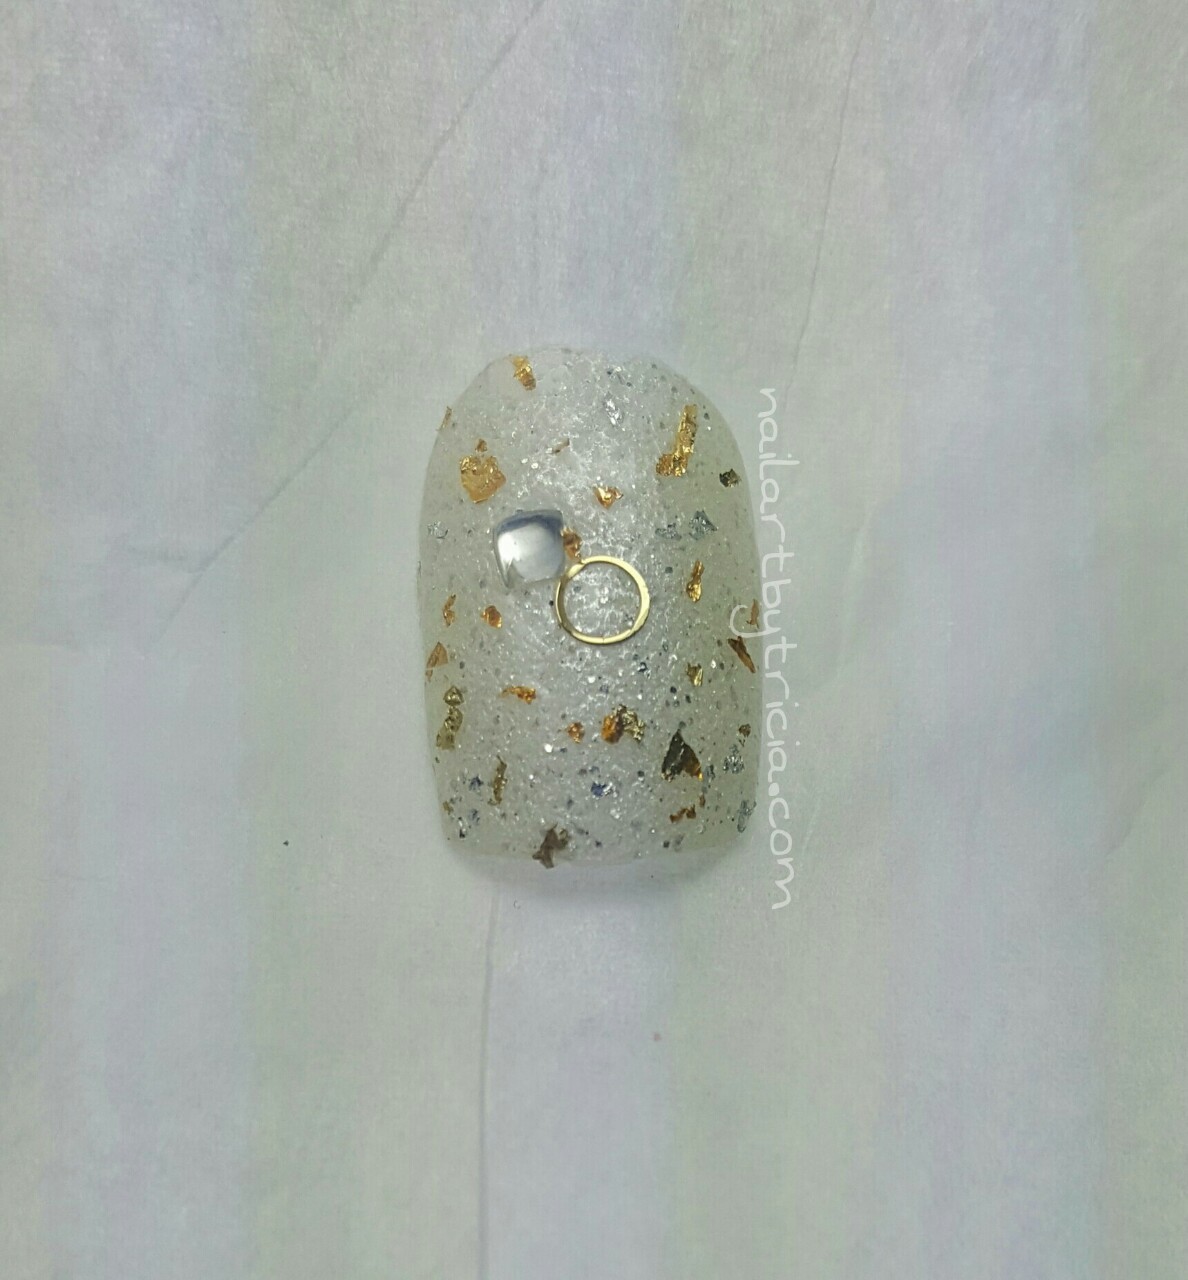
I love opals, and I just received the film to create the shattered nail look, so I decided to see if I could combine these two ideas. I started with an ivory base of "Lil Miss Sunshine" by Funky Fingers. I then cut small slivers of the shatter film (I got from Born Pretty Store) and attached them to the nail with a little top coat. I sponged on pink, orange, purple and blue from the OPI Sheer Tints, and sealed everything in with a top coat. This was super easy to do - the most time consuming part was cutting the little slivers into the perfect lengths (and not losing them!)
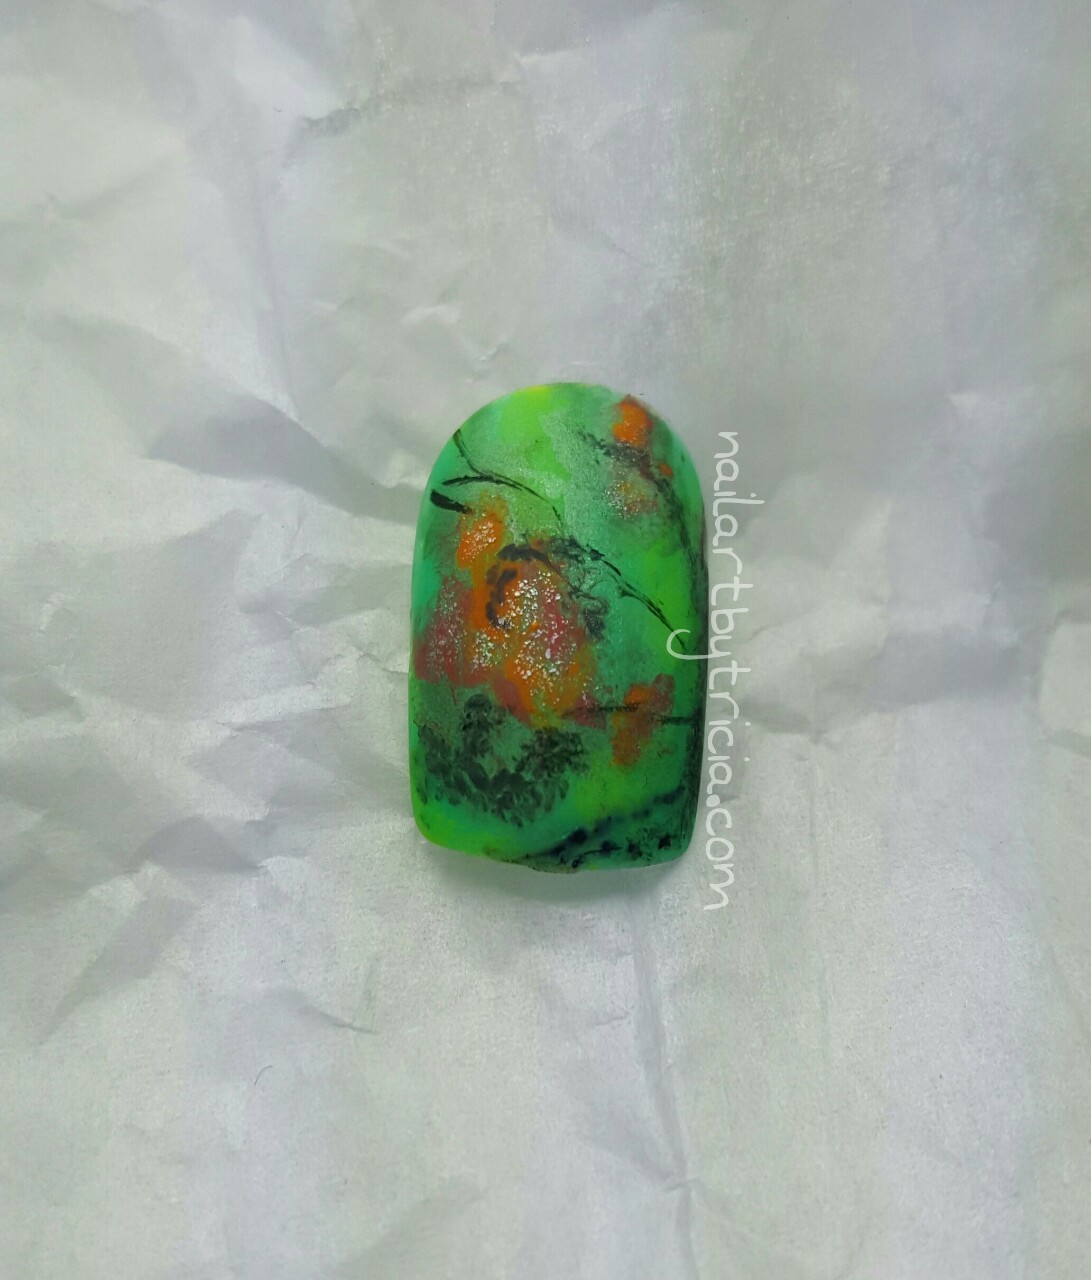
My final design is modeled after Ammolite, which is actually an iridescent material found on extinct ammonite fossils. The variety of color found in this substance is stunning. I painted my nail with a green base, and began sponging on colors - orange, red, black, grey, green - and then softened up the lines with some acetone (this is the watercolor technique again). With a fine brush I painted on the black lines, finishing my design with a little glitter and a matte top coat.

Which one is your favorite?!?

Sunday, January 10, 2016

Nail It Mag - Bridal/White Theme

Happy Sunday!
I created a few nails to submit to Nail It magazine. They routinely post requests for submissions on specific themes. Here are the nails I submitted for the Bridal/White theme:
Polishes used are Nicole by OPI's "Play Fair" and Zoya's "Aspen." The gold metal circles, rhinestones and silver decal all came from the Born Pretty Store. 
I did a subtle French mani by sponging Aspen over Play Fair. I then layered two gold circle confettis to look like rings, and added the heart rhinestone. Pretty simple, yet elegant I think :)
For this look, I added small torn pieces of gold and silver nail foil, and then added the circle confetti and one square rhinestone to create the engagement ring. 
This one was probably my favorite, because of the purple gem I'm sure :)
I first placed the silver decal on the nail, and then added the large purple gem, then a small rhinestone and a silver heart spangle. 

Which is your favorite?  :)

Monday, January 4, 2016

Naked Acres Nail Art

If you haven't figured it out already, I love animals. I spend a great deal of time in the pet store, and Naked Acres is the name of my local favorite shop.

 I used acrylic paint to reproduce the store's logo on my right hand, and did some leaves along with a cartoony iguana with a crown to represent the store's mascot, King Louie.
The leaf design was inspired by the blog You Need A Manicure - see the post here.