Showing posts with label #watercolortechnique. Show all posts

Tuesday, January 12, 2016

Marble/Stone Nail Art

Today I have more submissions for the Nail It! Magazine, on the theme of Marble/Stone.
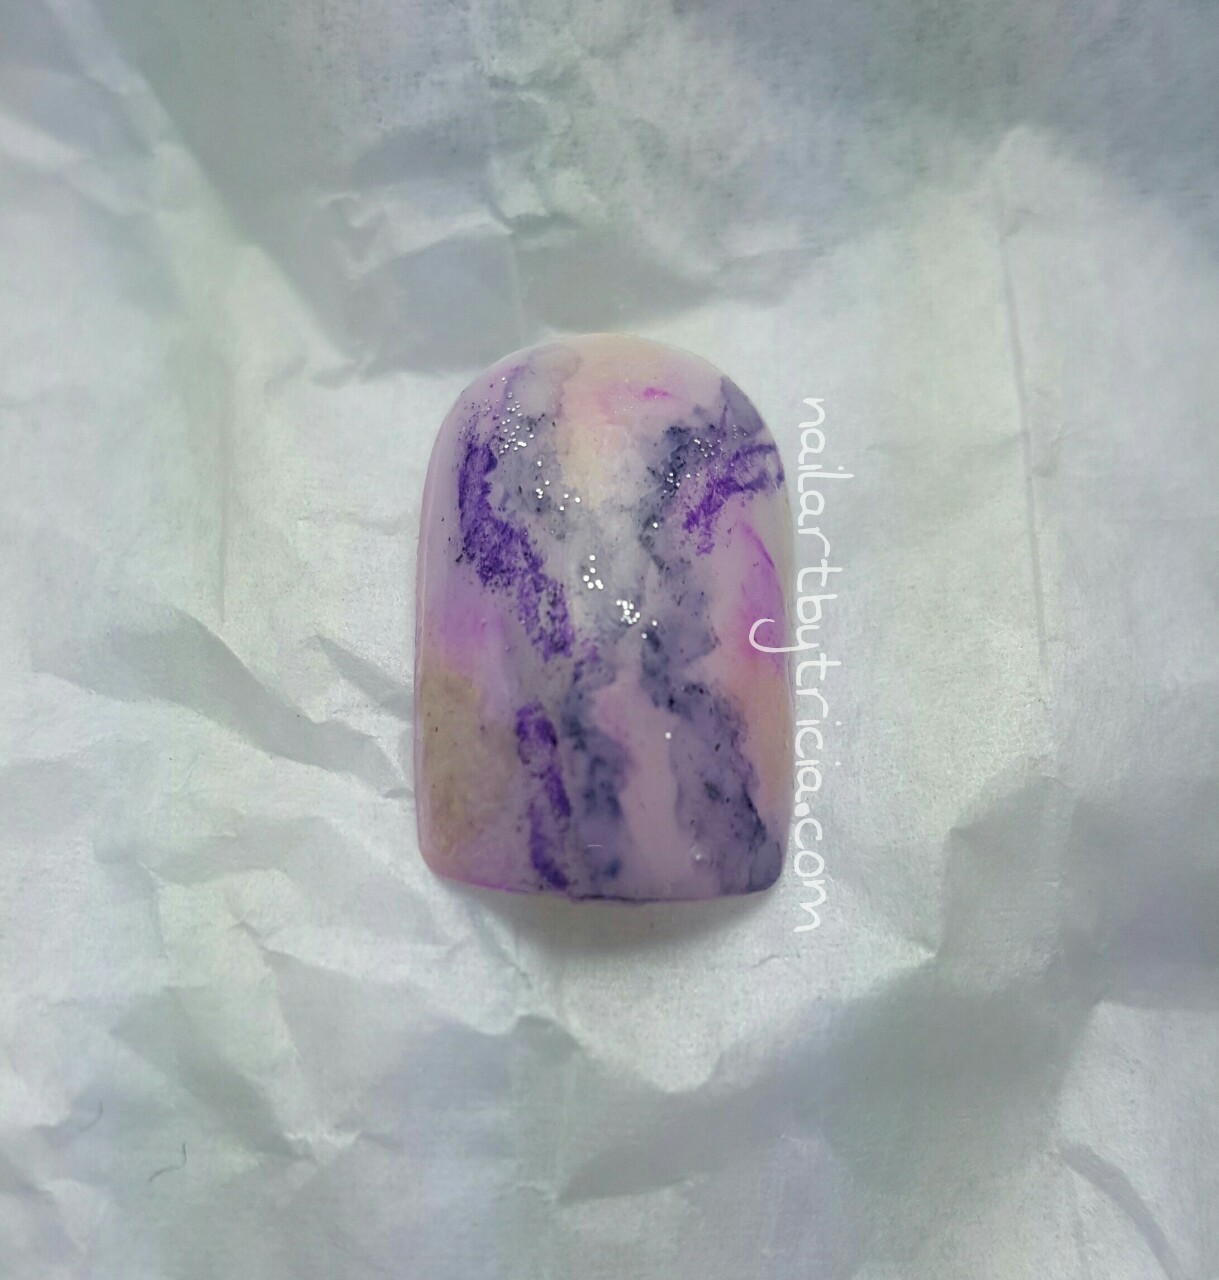
The purple is my favorite, of course. I started with a lavendar base of "Sugar Plum Fairy" from Funky Fingers. I used the Sharpie technique with dark purple, Next, I grabbed some more purples and some black polish, and began sponging it on in various spots. It didn't look "soft" enough for me, so I grabbed a small paint brush and some acetone to gently brush the sponging, making it look more like watercolor. Finally, I added just a little bit of ivory polish (sponged) and the tiniest amount of glitter. A coat of matte polish completes this look. :)
I love opals, and I just received the film to create the shattered nail look, so I decided to see if I could combine these two ideas. I started with an ivory base of "Lil Miss Sunshine" by Funky Fingers. I then cut small slivers of the shatter film (I got from Born Pretty Store) and attached them to the nail with a little top coat. I sponged on pink, orange, purple and blue from the OPI Sheer Tints, and sealed everything in with a top coat. This was super easy to do - the most time consuming part was cutting the little slivers into the perfect lengths (and not losing them!)
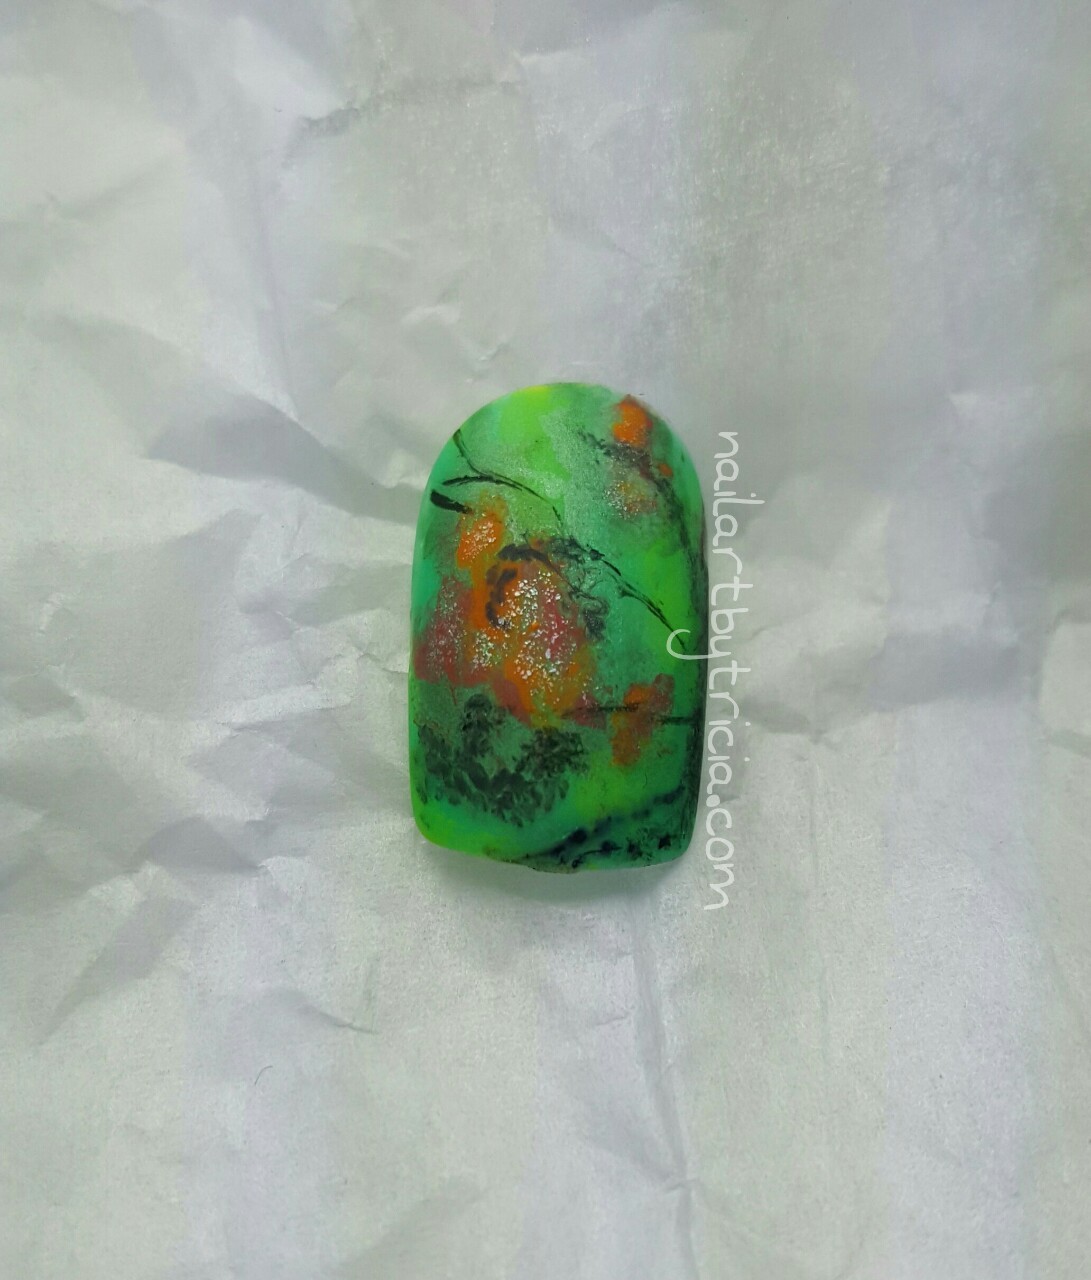
My final design is modeled after Ammolite, which is actually an iridescent material found on extinct ammonite fossils. The variety of color found in this substance is stunning. I painted my nail with a green base, and began sponging on colors - orange, red, black, grey, green - and then softened up the lines with some acetone (this is the watercolor technique again). With a fine brush I painted on the black lines, finishing my design with a little glitter and a matte top coat.

Which one is your favorite?!?

Saturday, February 28, 2015

Purple Flowers

Today's mani is inspired by this post by So Nailicious.
I used two of the purples from The New Black's "Haze" Ombre Set on this design. The negative space stripes were done using nail striping tape, and I used the watercolor technique for the flowers. I had originally placed three small white dots in the middle of the flowers, but I didn't really like how they looked, so I used the watercolor technique again to blend them into the purple and added tiny black dots. This design wasn't too difficult, and I have been getting tons of compliments all day :)

*Nails are pictured with my new awesome Pitcher Plant!

Tuesday, January 27, 2015

From the Pinterest Vault

Today's mani is from one of the many that I have stored in my Pinterest Nail Art stash.

 When I choose someone else's mani to recreate, I do a little research (beyond just looking at the pic) on the original artist so that I may give credit where it is due. I was pleasantly pleased with Miriam Elizabeth's work -- you can find her Facebook page here and Instagram  here -- you too can be inspired by her creativity! The original mani which serves as my inspiration can be seen
here. 

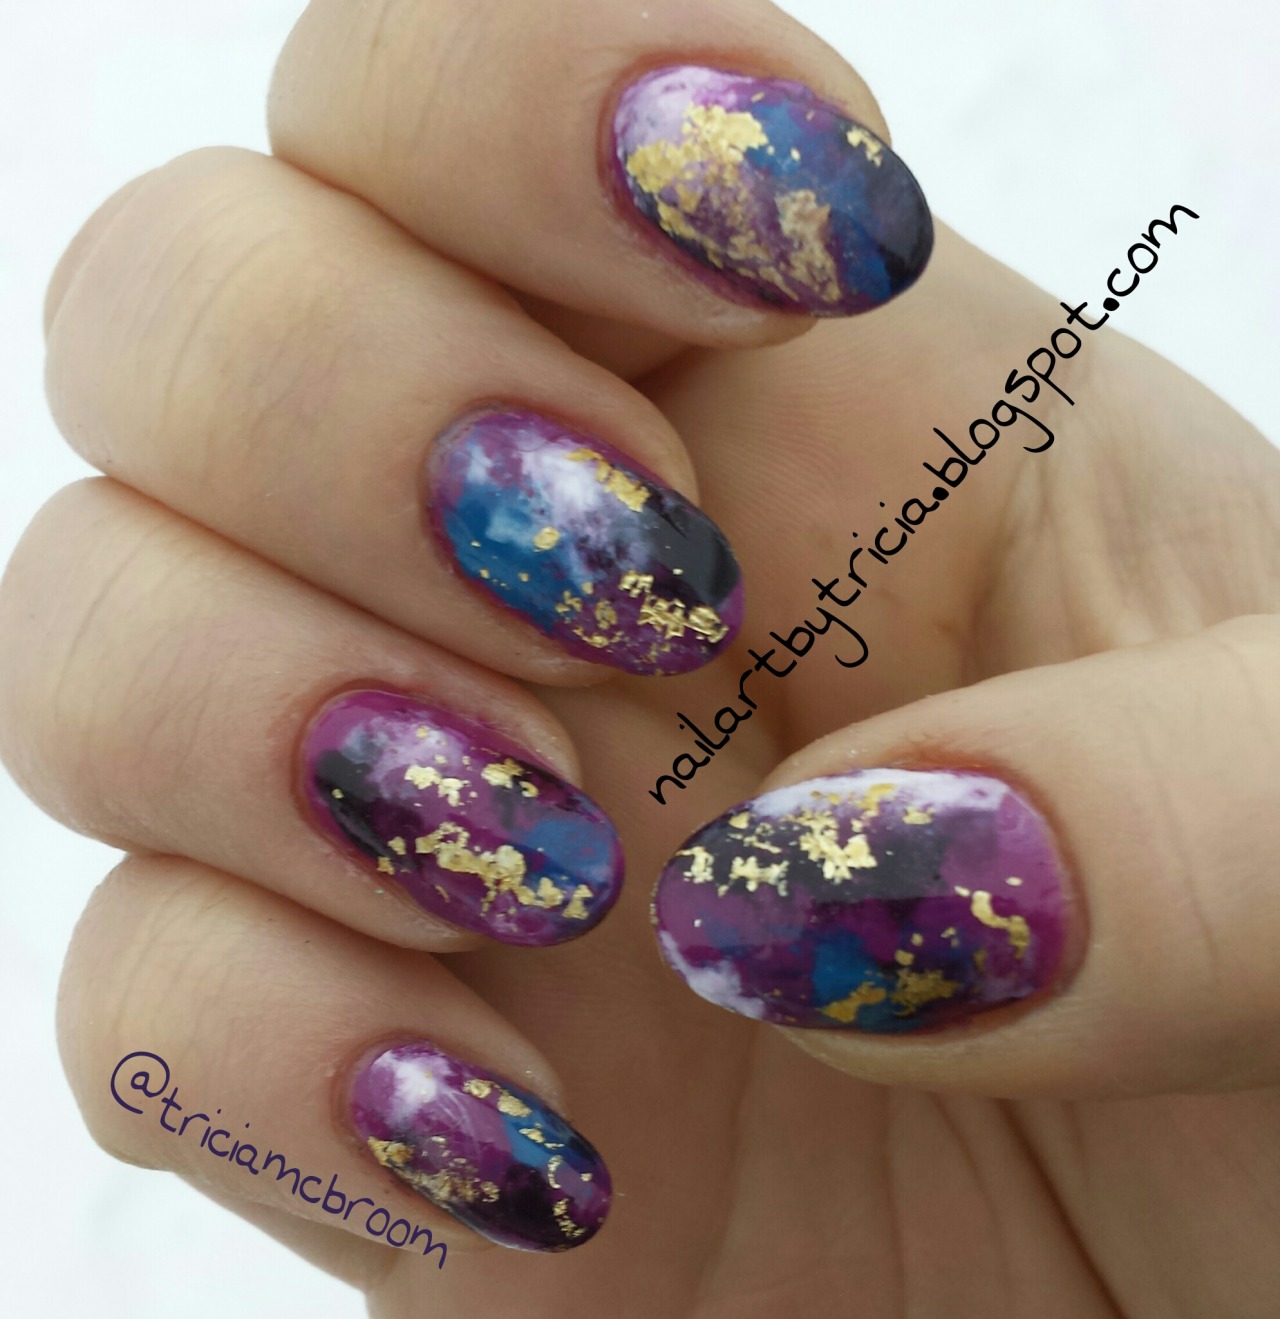
I used Essence "Breakthrough" as my base, and added the purple (OPI "Siberian Nights), blue (Zoya "Ling") and White (Funky Fingers "Gesso") by using the watercolor technique . As the final touch, I added some gold nail foil. This time, I decided to use the nail foil glue, like you are supposed to do. Usually I use my quick-dry top coat. Musta had the big girl panties on. Long story short, I do not care for the nail glue.

Bottom line, this is one of those manis that I keep staring at my own fingers. I love it. I will definitely be trying to recreate mroe of Miriam's work in the near future.  :)